
Ubuntu 원격 툴로 AnyDesk를 잘 사용하고 있었는데 업데이트되면서 5분마다 재접속해야 하는 불편함이 생겼다. 떼잉..
Parsec도 좋은데 Ubuntu는 18.04 말고는 호스트 지원이 안된다.
그래서 이번에는 Sunhine & Moonlight 원격 설정해보려고 한다.
단점으로는 GameStream 프로토콜 구조상 단방향 입력만 지원하기 때문에 Client → Host로 텍스트만 붙여넣기 할 수 있다. `Ctrl + Shift + Alt + V`
참고로 Host가 Windows인 경우 Apollo를, Client가 Android인 경우 Artemis라는 Fork 버전을 사용하는 것을 추천한다.
외부 접속을 위해서는 포트포워딩, 방화벽 설정이 필요한데 우리 집 인터넷이 개인 계약이 아니라 건물 독점 계약이라 뭔가 설정이 잘 되지 않았다.
iOS 연결도 애플 정책상 로컬 네트워크만 접속이 가능해서 이 부분은 Tailscale이라는 VPN 도구를 이용해서 해결했다.
(Host) Sunshine
1. Sunshine 설치
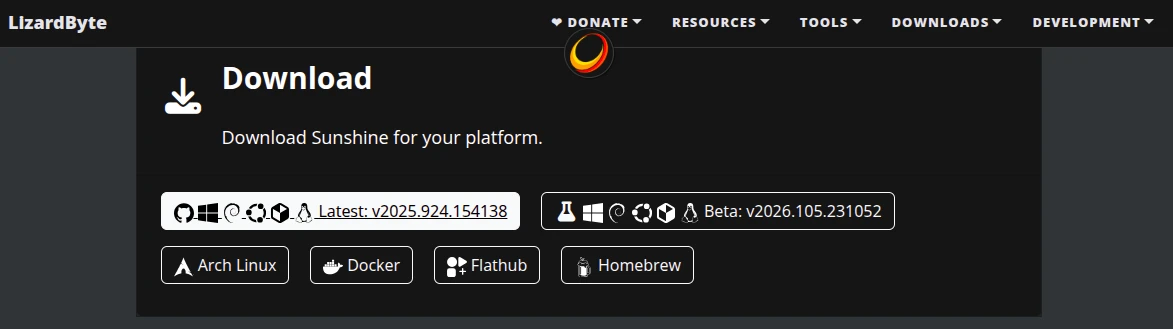
https://app.lizardbyte.dev/Sunshine - 페이지 최하단 Download 통해 깃허브 페이지 접속
`sunshine-{distro}-{distro-version}-{arch}.deb` 다운로드
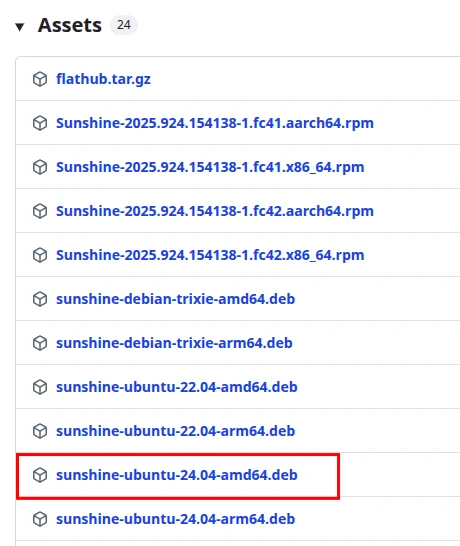
`sunshine-{distro}-{distro-version}-{arch}.deb` 설치
# sudo dpkg -i ./sunshine-{distro}-{distro-version}-{arch}.deb
sudo dpkg -i ./sunshine-ubuntu-24.04-amd64.deb
2. Display Server에 따른 설정
Wayland 환경의 경우 KMS Capture를 활성화해주어야 한다. 대부분 X11이지만 혹시 모르니 확인해보자.
echo $XDG_SESSION_TYPE
Wayland일 때 KMS Capture 활성화
sudo setcap cap_sys_admin+p $(readlink -f $(which sunshine))
X11일 때 KMS Capture 비활성화
sudo setcap -r $(readlink -f $(which sunshine))
3. (Optional) 추가 설정
Service 자동 실행
systemd 서비스 파일 생성
sudo nano ~/.config/systemd/user/sunshine.service
아래 내용 붙여넣고 저장
[Unit]
Description=Sunshine
After=network-online.target graphical-session.target
Wants=network-online.target

[Service]
Type=simple
ExecStart=/usr/bin/sunshine
Restart=always
RestartSec=5

[Install]
WantedBy=graphical-session.target
서비스 등록 및 시작
# 설정 파일 새로고침
systemctl --user daemon-reload

# 서비스 활성화 (재부팅 시 자동 실행) 및 즉시 시작
systemctl --user enable --now sunshine.service

# 필요 시 재시작
systemctl --user restart sunshine.service

# 상태 확인: active (running) 인지 확인
systemctl --user status sunshine.service
자동 로그인 설정
Setting - System - Users - Automatic Login 활성화
부팅하면 로그인 없이 Sunshine 자동 실행되지 않아서 보안이 필요한 경우 AnyDesk로 로그인 후 Sunshine-Moonlight 으로 다시 접속하는 방법이 있다.

SSH Server Setup
https://docs.lizardbyte.dev/projects/sunshine/v0.22.2/about/setup.html
설치
sudo apt update
sudo apt install openssh-server
서비스 설정
sudo systemctl enable sshd.service
sudo systemctl start sshd.service  # Starts the service now
sudo systemctl status sshd.service  # See if the service is running
SSH 접속
ssh <user>@<ip_address> 'export DISPLAY=:0; sunshine'

# for tty (teletypewriter)
ssh <user>@<ip_address> 'startx &; export DISPLAY=:0; sunshine'
Virtual Display Setup
화면이 나오지 않는 경우 가상 모니터 설정이 필요하다.
Xorg를 사용하는 NVIDIA GPU를 사용하는 경우 (X11 기반) dummy dongle 대신 가상 모니터 설정할 수 있다.
설치
sudo apt install xserver-xorg-video-dummy
설정 파일 생성
sudo nano /usr/share/X11/xorg.conf.d/20-dummy.conf
해상도에 따라 아래 내용을 입력하고 저장
해상도 1920 x 1080
Section "Device"
    Identifier "DummyDevice"
    Driver "dummy"
    VideoRam 256000
EndSection

Section "Screen"
    Identifier "DummyScreen"
    Device "DummyDevice"
    Monitor "DummyMonitor"
    DefaultDepth 24
    SubSection "Display"
        Depth 24
        Modes "1920x1080_60.0"
    EndSubSection
EndSection

Section "Monitor"
    Identifier "DummyMonitor"
    HorizSync 30-70
    VertRefresh 50-75
    ModeLine "1920x1080" 148.50 1920 2448 2492 2640 1080 1084 1089 1125 +Hsync +Vsync
EndSection
해상도 2560 x 1440
Section "Device"
    Identifier "DummyDevice"
    Driver "dummy"
    VideoRam 1024000
EndSection

Section "Screen"
    Identifier "DummyScreen"
    Device "DummyDevice"
    Monitor "DummyMonitor"
    DefaultDepth 24
    SubSection "Display"
        Depth 24
        Modes "2560x1440_60.0"
    EndSubSection
EndSection

Section "Monitor"
    Identifier "DummyMonitor"
    HorizSync 30-200
    VertRefresh 50-1000
    Modeline "2560x1440_60.00"  312.25  2560 2752 3024 3488  1440 1443 1448 1493 -hsync +vsync
EndSection
재부팅
sudo reboot
4. Tailscale
Tailscale | Secure Connectivity for AI, IoT & Multi-Cloud
The connectivity platform for devs, IT, and security teams. Zero Trust identity-based access that deploys in minutes and scales to every resource. Start free.
tailscale.com
설치
# Tailscale 설치
curl -fsSL https://tailscale.com/install.sh | sh

# Tailscale 시작
sudo tailscale up
로그인 인증

IP 주소 확인
# 연결 상태
sudo tailscale status

# IP 확인
tailscale ip -4
# 100.XXX.XXX.XXX
(Client) Moonlight
1. Moonlight 설치
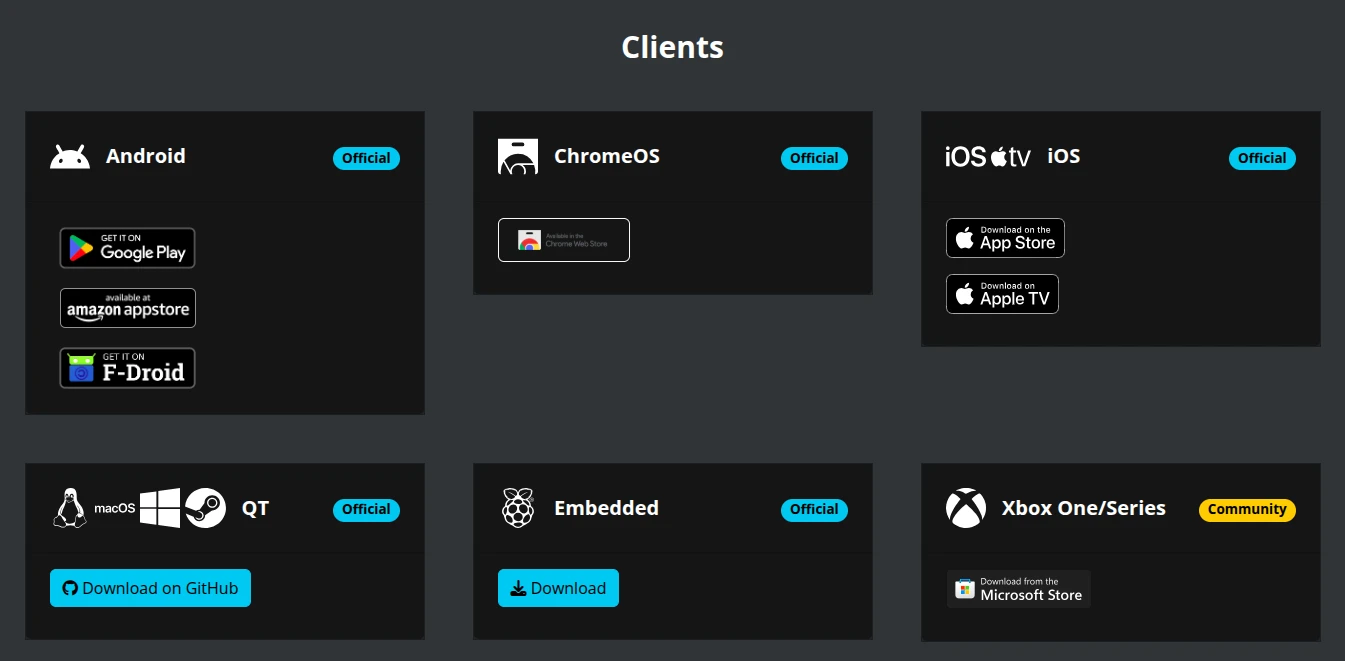
Client의 OS에 따라 맞는 버전 설치
Moonlight Game Streaming: Play Your PC Games Remotely
Are you ready to stream? Check out our Setup Guide for tips on how to get started. Have a question? Check our FAQ page to see if it's already answered there. Seasoned Moonlight user? Give back to the community by joining our Discord and helping other users
moonlight-stream.org

https://app.lizardbyte.dev/Sunshine/
LizardByte
Discover the world of self-hosted cloud gaming!
app.lizardbyte.dev
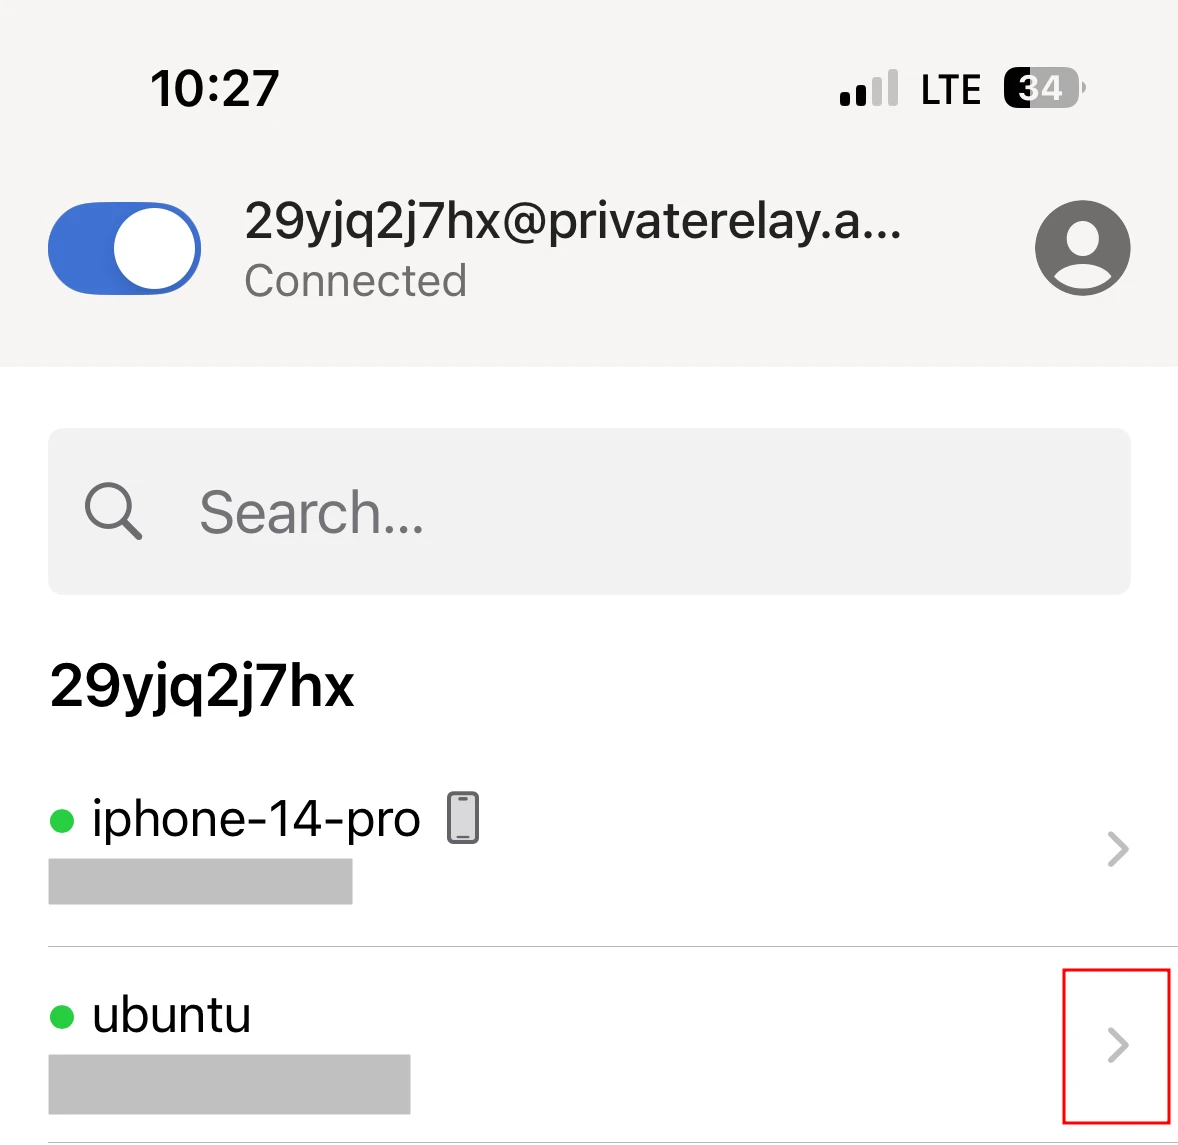
2. Tailscale
설치 후에 호스트와 같은 아이디로 로그인
https://tailscale.com/download
Download | Tailscale
Tailscale is the zero configuration VPN that doesn't go through the public internet.
tailscale.com
호스트 IP 주소 복사

Sunshine - Moonlight 페어링
Client
Moonlight 접속 - Add Host Manually

Tailscale 에서 복사한 IP 주소 붙여넣기

페어링할 PIN 번호 확인

Host
Sunshine 접속 - PIN 번호 입력

'Setting > Ubuntu' 카테고리의 다른 글
| NVIDIA Driver 버전 고정 (자동 업데이트 막기) (0) | 2026.01.21 |
|---|---|
| Ubuntu 부팅 시 해상도 640x480 고정 문제 (EDID Handshake) 해결법 (0) | 2026.01.14 |
| Ubuntu 터미널에서 비밀번호 asterisk * 표시하기 (0) | 2025.03.25 |
| NVIDIA GeForce RTX 5080에 PyTorch 설치하기 (0) | 2025.03.20 |
| (ZSH) Prezto + zplug로 플러그인 관리하기 (0) | 2025.03.14 |