관련 포스팅
ZSH
`zsh`은 디폴트 shell인 `bash`를 확장하여 개발한 shell로 자동 완성, 다양한 플러그인 등을 지원한다.
설치
sudo apt install zsh
실행
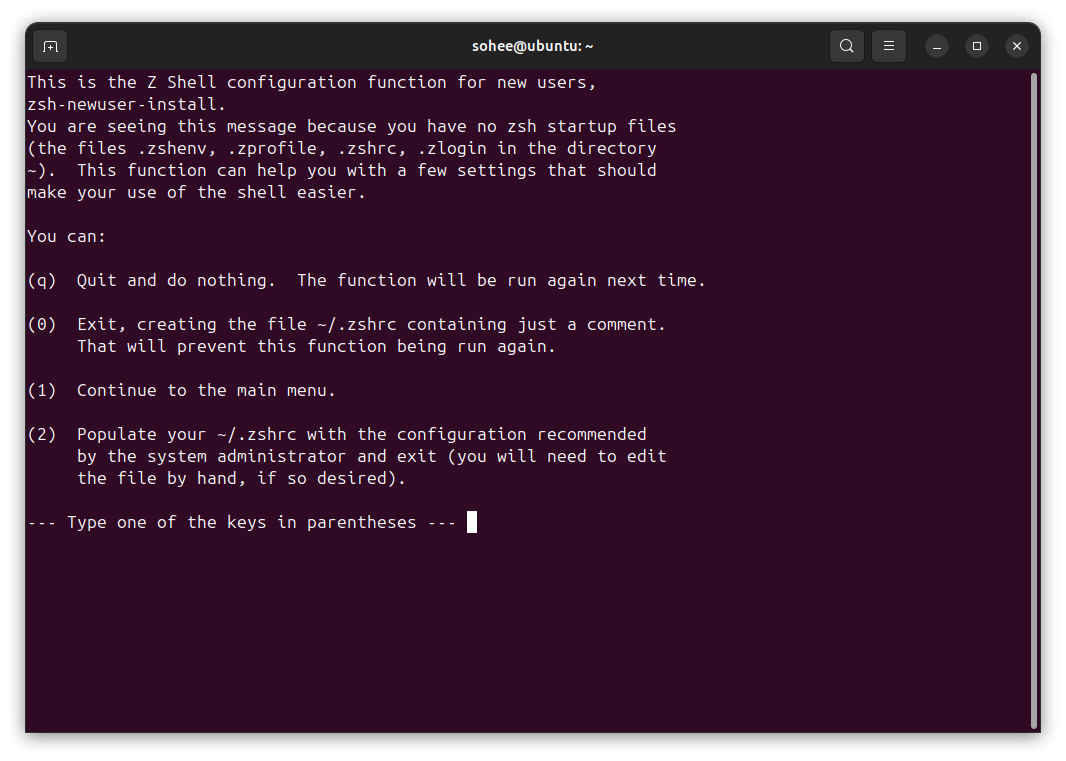
`.zshrc` 파일을 생성해준다.
zsh
shell 변경
chsh -s $(which zsh)
사용중인 shell 확인
echo $SHELL
Prezto
`oh-my-zsh`를 대체할만한 ZSH의 프레임워크이다.
GitHub - sorin-ionescu/prezto: The configuration framework for Zsh
The configuration framework for Zsh. Contribute to sorin-ionescu/prezto development by creating an account on GitHub.
github.com
설치
먼저 기존의 zsh 설정을 모두 삭제해준 뒤 설치를 권장한다.
sudo rm -rf ~/.zsh*
sudo rm -rf ~/.zprezto
git clone --recursive https://github.com/sorin-ionescu/prezto.git "${ZDOTDIR:-$HOME}/.zprezto"
zsh config 설정
setopt EXTENDED_GLOBfor rcfile in "${ZDOTDIR:-$HOME}"/.zprezto/runcoms/^README.md(.N); do
ln -s "$rcfile" "${ZDOTDIR:-$HOME}/.${rcfile:t}"
done
이미 configuration files이 있는 경우 `ln` 오류가 발생할 수 있다. 그럴 경우 아래 명령어를 실행한다.
echo 'source "${ZDOTDIR:-$HOME}/.zprezto/init.zsh"' >> ~/.zshrc
source ~/.zshrc
module 추가
sudo vi ~/.zpreztorc
`zstyle ':prezto:load' pmodule` 아래에 필요한 모듈을 추가한 후 `:wq!`로 저장하고 닫는다.
zstyle ':prezto:load' pmodule \
  'environment' \
  'terminal' \
  'editor' \
  'history' \
  'directory' \
  'spectrum' \
  'utility' \
  'completion' \
  'history-substring-search' \
  'prompt' \
  'git' \
  'autosuggestions' \
  'docker' \
  'python' \
  'ssh' \
  'tmux' \
  'homebrew' \
  'osx' \
  'ruby' \
  'rails' \
  'syntax-highlighting'
추가된 모듈을 적용시킨다.
source ~/.zpreztorc
Theme 설정
테마를 설정하기 위해선 module에 `prompt`가 추가되어 있어야 한다.
테마 리스트
prompt -l
테마 프리뷰
prompt -p# 개별 프리뷰
prompt -p {name}
테마 설정
sudo vi ~/.zpreztorc
`zstyle ':prezto:module:prompt' theme`에 원하는 테마 이름을 입력한 후 저장하고 닫는다.
위치는 `/theme`로 쉽게 찾을 수 있다.
zstyle ':prezto:module:prompt' theme 'paradox'
수정된 테마를 적용시킨다.
source ~/.zpreztorc
Nerd Font
몇몇 아이콘이 깨지거나 코딩할 때 가독성이 높은 폰트를 원한다면 nerd font 설치를 추천한다.
GitHub - ryanoasis/nerd-fonts: Iconic font aggregator, collection, & patcher. 3,600+ icons, 50+ patched fonts: Hack, Source Code
Iconic font aggregator, collection, & patcher. 3,600+ icons, 50+ patched fonts: Hack, Source Code Pro, more. Glyph collections: Font Awesome, Material Design Icons, Octicons, & more - ryano...
github.com
폰트를 편하게 설치할 수 있도록 스크립트를 작성한다.
vi install_fonts.sh
`fonts`에 추가하고자 하는 폰트 이름을 넣어주고 저장한다.
#!/bin/bash

fonts=(
    D2Coding
    JetBrainsMono
    RobotoMono
    Ubuntu
    UbuntuMono
)

version='3.3.0'
fonts_dir="${HOME}/.local/share/fonts"

mkdir -p "$fonts_dir"

for font in "${fonts[@]}"; do
    zip_file="${font}.zip"
    download_url="https://github.com/ryanoasis/nerd-fonts/releases/download/v${version}/${zip_file}"
    echo "Downloading $download_url"
    wget "$download_url"
    unzip -n "$zip_file" -d "$fonts_dir"
    rm "$zip_file"
done

find "$fonts_dir" -name '*Windows*' -delete
fc-cache -fv
설치 스크립트를 실행한다.
bash install_fonts.sh
# 또는
chmod +x install_fonts.sh
./install_fonts.sh
이후 터미널이나 에디터 등에 nerd font를 적용하면 깨졌던 폰트가 잘 보이게 된다.

Troubleshooting
- `zsh: no matches found: *` : shell에서 모든 문자열을 의미하는 wildcard `*`를 읽을 수 없는 경우
setopt +o nomatch'Setting > Ubuntu' 카테고리의 다른 글
| 멀티 부팅 환경에서 시간 동기화 문제 해결 (0) | 2025.03.05 |
|---|---|
| ZSH 프롬프트 가상환경 보이게 설정 (0) | 2025.03.05 |
| 우분투 저장소 (repository) KAKAO 또는 DAXNET mirror로 변경하기 (0) | 2025.03.05 |
| Grub 부팅 순서 설정 및 멀티 부팅 선택 (부제: 우분투에서 윈도우로 재부팅하기) (0) | 2025.03.04 |
| CUDA + CuDNN 설치하기 (0) | 2025.03.04 |